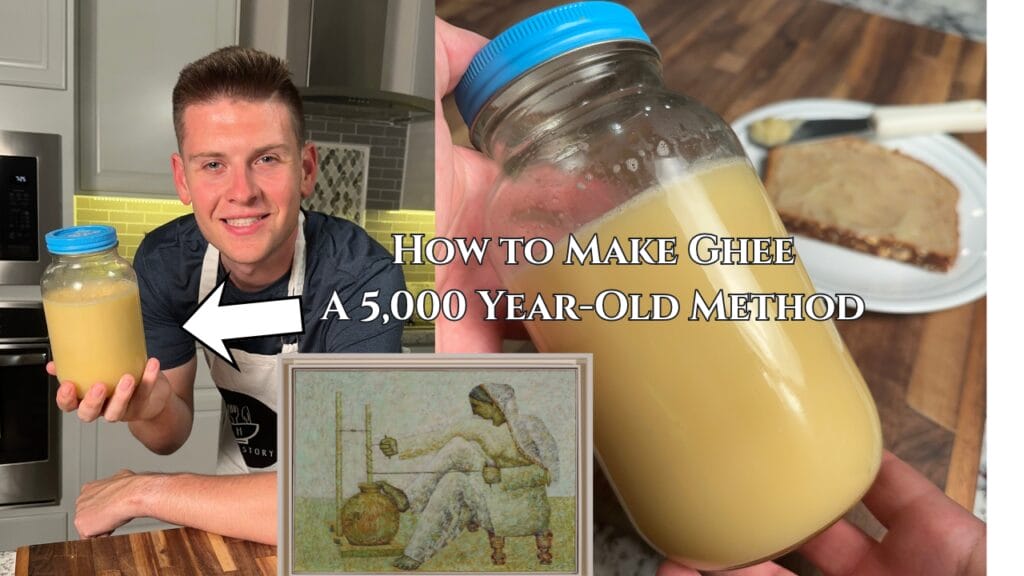
There are two kinds of back-to-basics cooking projects. The first kind makes you feel genuinely empowered and self-sufficient and sends you down a rabbit hole of doing everything from scratch forever. The second kind is deeply satisfying, produces something excellent, and then sends you directly to the grocery store to buy the commercial version because the economics simply do not support making it yourself.
Homemade butter is the second kind.
Hey, my first cookbook, Cooking Ancient Rome, is now available for pre-order!!! Check it out!
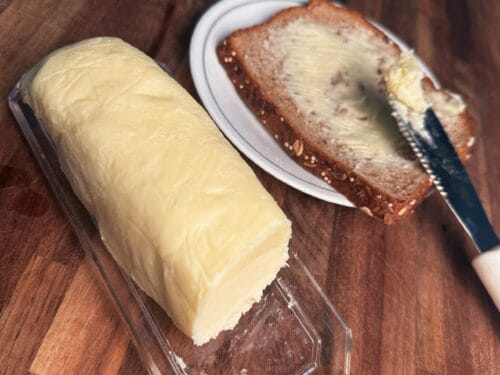
The butter I made from heavy cream fermented with a bit of yogurt, churned with a hand mixer, and washed through several ice baths until it was clean and firm and ready to salt, was genuinely excellent. It tasted noticeably better than standard supermarket butter. The process was satisfying, and the history behind it is extraordinary. I am also not going to do it regularly because where I live, a pound of butter costs less than the heavy cream required to make the same quantity. The economics are simply backwards unless you are either living somewhere butter costs a fortune, keeping your own dairy animal, or specifically wanting to make flavoured or cultured butter that you cannot buy commercially.
Next week
I cook these before I write them. Some of it never makes the post.
The failures, the source documents, the version that actually tasted good. That part goes out by email, and next week’s is already on the stove.
 Written and cooked by Donnie
The Ancient History of Butter: From Animal Skin to Stand Mixer
Butter is old in a way that makes most of the foods on this channel look recent. The earliest archaeological evidence for butter production dates to approximately 6000 to 8000 BC, discovered in the form of ceramic vessels in North Africa and the Near East. Early Sumerian texts from Mesopotamia around 3000 BC mention butter and its use in religious rituals and culinary practices. The method used by the earliest butter makers was essentially the same fundamental process used in every era since: agitate cream until the fat globules rupture their membranes, clump together and separate from the liquid buttermilk. The physics have not changed. Only the vessel has.
The first butter was almost certainly made by accident, as cream stored in an animal skin vessel and carried on horseback or shaken during transport would have churned itself through the natural movement of travel and produced a clump of fat that the carrier would have discovered at the end of the journey. The realisation that this clump was edible and that it could be produced intentionally is the moment butter enters human culinary history.
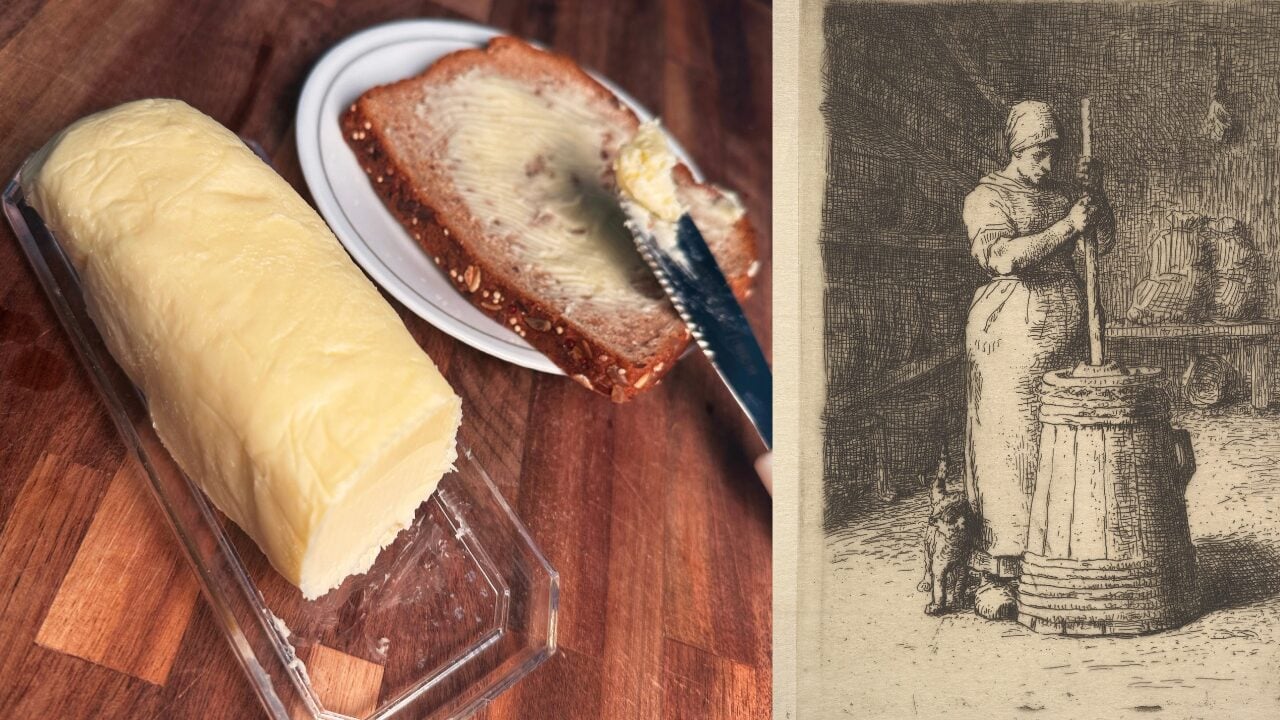
The first deliberate butter churns used a wooden container and a plunger, the dasher, to agitate the cream until butter formed. Churning took up to an hour or more, after which the butter was kneaded by hand or with wooden paddles to extract any remaining milk, then rinsed and packed. Well into the 19th century butter was still made from cream that had been allowed to stand and sour naturally, meaning that traditional historical butter was cultured butter, produced from fermented cream rather than fresh sweet cream, which is precisely the method I used in this recipe with the yogurt fermentation step.
The Most Important Detail Most People Skip: Cultured Cream
Here is the piece of butter history that most modern home butter recipes leave out and that changes everything about the finished product. Before modern refrigeration and commercial cream separators changed dairy farming in the late 19th century, cream was collected from several milkings over multiple days. By the time it was made into butter it was therefore several days old and somewhat fermented. Butter made from fermented cream is called cultured butter, and the specific lactic acid bacteria that develop during fermentation are responsible for the complex, slightly tangy, deeply flavoured character of traditional European cultured butter styles.
Sweet cream butter, made from fresh unfermented cream, only became common in the 19th century when refrigeration made it possible to store cream without fermentation beginning. The butter that most Americans eat daily is sweet cream butter. The butter that most of human history ate was cultured butter. The addition of yogurt to the cream in my recipe, leaving it to ferment for 6 to 12 hours before churning, recreates the traditional fermented cream process that every butter maker before the invention of refrigeration was working with whether they intended to or not. This is not a modern innovation. It is the original method.
What Historical Cooks Actually Said About Making Butter
The primary source record on butter making is unexpectedly rich, partly because butter was made in every household that kept dairy animals and partly because getting it right was a matter of genuine household importance. Margaret Huntington Hooker’s 1896 Ye Gentlewoman’s Housewifery contains one of the most complete surviving domestic butter recipes from the 19th century household tradition. Her instruction reads: as soon as you have milked, strain your milk into a pot and stir it often for half an hour, then put it away in your pots or trays. When it is creamed, skim it exceedingly clean from the milk, and put your cream into an earthen pot. When you have churned, wash your butter in three or four waters, and then salt it as you will have it, and beat it well. Let it stand in a wedge until the next morning, beat it again and make your layers the thickness of three fingers, and then strew a little salt on it.
The washing of butter in multiple waters and the salt layering that Hooker describes are the same techniques I used in the ice bath washing step of my recipe. Three or four waters is three or four ice bath washes. The principle is identical across four centuries: squeeze the buttermilk out, wash in cold water until the water runs clear, and salt.
William Ellis, writing in The Country Housewife’s Family Companion in 1750, described the preferred churning tools of his era with the specific approval of a man who had clearly thought hard about the question. Esther Copley, in Cottage Comforts published in England in 1825, noted that churning should take place at least twice a week in summer. Both of them were working from fermented cream without knowing it because there was no alternative before refrigeration. The cultured butter they were making was the standard. The sweet cream butter that replaced it is the modern exception.
Why You Should Make Homemade Butter Anyway: The Flavoured Butter Case
Having established that regular salted butter is almost certainly cheaper to buy than to make in most Western grocery markets, let me make the genuine case for making butter at home anyway.
The first and strongest case is flavoured compound butter. The moment you are making butter yourself you can incorporate anything you want into it before shaping. Roasted garlic and fresh herbs. Blue cheese. Honey and sea salt. Truffle oil. Miso. Smoked paprika and lime. Brown butter toffee. The compound butters sold commercially at specialty food stores cost a significant premium for what is essentially flavoured fat. Making them at home from scratch butter gives you complete control over the flavour intensity and the quality of the starting ingredient.
The second case is cultured butter specifically. Most supermarket butter in the United States is sweet cream butter. European-style cultured butters with the complex, slightly tangy, deeply flavoured character of the traditional fermented method are available but cost significantly more than standard butter. Making cultured butter at home with the yogurt fermentation step produces something that is genuinely difficult to purchase for the same price and that tastes considerably better on bread or in pastry.
The third case is the educational one. Making butter once gives you a physical understanding of what butter is and how it is made that changes how you think about every recipe that uses it. Understanding that butter is cream that has been physically agitated until its fat globules rupture and clump, that the liquid that runs off during churning is real buttermilk that bakes better than anything sold as buttermilk in a carton, and that the ice bath washing is removing the compounds that make butter turn rancid quickly, is genuinely useful culinary knowledge that you retain in your hands rather than just in your head.
My Rating and Honest Assessment
The butter is excellent. The cultured method, fermented cream mixed with a spoonful of yogurt left for six to twelve hours before churning, produces a flavour profile noticeably more complex and interesting than standard supermarket butter. The hand mixer does the physical work that the butter churn did for centuries. The transition from whipped cream to scrambled-egg yellow lumps releasing buttermilk is one of the most satisfying visual moments in home food production. The ice bath washing, squeezing out the excess liquid until the water runs clear, produces a clean, firm, properly made butter that keeps without spoiling far longer than butter that has been inadequately washed.
The salting is done after all moisture is removed and it is not optional. Unsalted homemade butter tastes flat in a way that communicates immediately why salt has been added to butter for as long as butter has been preserved. The salt does not just add flavour. It was historically a preservative that extended the keeping quality of butter that otherwise would have spoiled rapidly, which is why salted butter was the norm for most of butter history and the unsalted version is a relatively modern preference driven by kitchen control rather than tradition.
Rating: 8.8 / 10
Back to the Basics Series approved? No. The economics do not support it as a regular practice where supermarket butter is readily available and priced at what it is. As a one-time educational kitchen project, a method for making cultured or flavoured compound butter that you cannot easily buy, and a connection to a household skill that every previous generation of home cook in Western history would have considered completely basic: absolutely yes.
The Recipe: Homemade Cultured Butter
Homemade Cultured Butter

Don’t lose this one.
I’ll email it to you so it’s waiting when you’re ready to cook.
Ingredients
Instructions
Notes
- The yogurt fermentation step is optional if you want sweet cream butter instead of cultured butter. Skip it and simply use cold fresh cream straight from the refrigerator. The churning method and washing steps remain the same. The flavour will be cleaner and milder, closer to standard commercial sweet cream butter.
- The temperature of the cream going into the mixer is the single most important variable in the recipe. Too warm and the butter forms slowly and the texture is greasy. Too cold and it takes much longer than necessary. Around 55 to 60 degrees Fahrenheit is the ideal, which for most refrigerators means taking the cream out 20 to 30 minutes before churning.
- The real buttermilk that comes off during churning is thinner and more liquid than commercial buttermilk and is better in every baking application. Use it immediately or refrigerate and use within a week.
- The compound butter applications are where this recipe genuinely earns its place over commercial butter. After salting, incorporate roasted garlic and thyme for a steak butter, or honey and flaky sea salt for a breakfast butter, or blue cheese and chives for a burger butter, before shaping and wrapping. These versions genuinely cost less to produce at home than the equivalent commercial product and taste noticeably better.